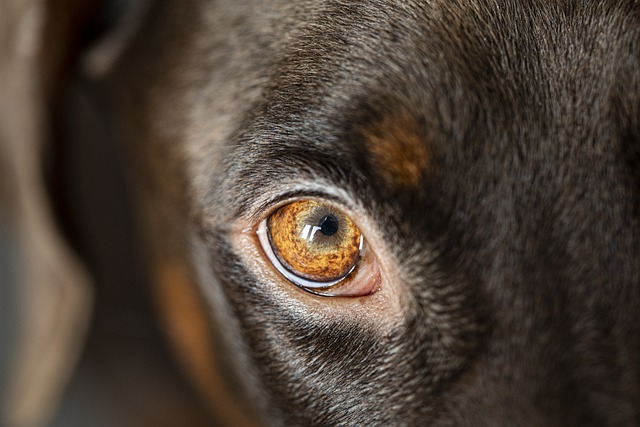
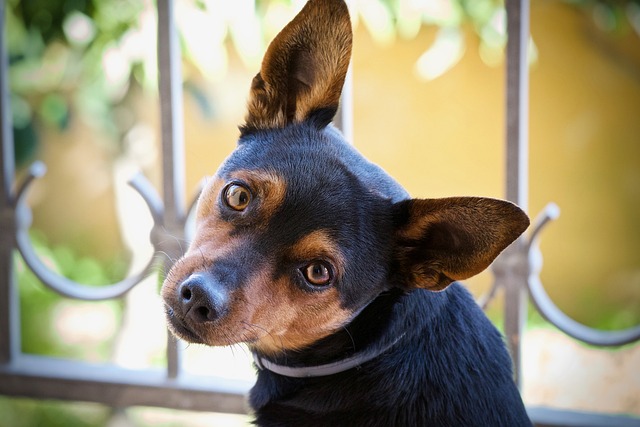
Your dog’s ears are an important part of its health and well-being. They help them hear, balance, and communicate with you and other dogs. However, they can also get dirty, infected, or irritated if not cleaned properly. That’s why it’s important to know how to clean your dog’s ears at home and what signs to look for that indicate a problem.
Why Should You Clean Your Dog’s Ears?
Cleaning your dog’s ears regularly can help prevent ear infections, which are common and painful for dogs. Ear infections can be caused by bacteria, yeast, parasites, allergies, or foreign objects in the ear canal. Some signs of an ear infection are:
- Redness, swelling, or discharge in the ear
- Bad odor in the ear
- Scratching, shaking, or rubbing the ear
- Head tilting or loss of balance
- Whining or crying when the ear is touched
If you notice any of these signs, you should take your dog to the vet as soon as possible for diagnosis and treatment. However, cleaning your dog’s ears can help prevent ear infections from happening in the first place, or at least reduce their frequency and severity.
How Often Should You Clean Your Dog’s Ears?
The frequency of cleaning your dog’s ears depends on several factors, such as their breed, ear shape, lifestyle, and health conditions. Some dogs have ears that are more prone to getting dirty or infected, such as those with long, floppy, or hairy ears. In addition, some dogs can swim, play in the mud, or have allergies. These dogs may need more frequent cleaning, such as once a week or more. Other dogs have ears that are less likely to get dirty or infected, such as those with short, upright, or smooth ears. These dogs are those that stay indoors, avoid water, or have no allergies. These dogs may need less frequent cleaning, such as once a month or less.
The best way to determine how often to clean your dog’s ears is to check them regularly and look for signs of dirt, wax, or infection. You can also ask your vet for advice on how often to clean your dog’s ears based on their individual needs.
How to Clean Your Dog’s Ears at Home?
Cleaning your dog’s ears at home is not difficult, but it does require some patience, gentleness, and the right supplies. Here are the steps to follow:
- Assemble your supplies and your dog
You will need a dog-friendly ear cleaner, cotton balls or a soft cloth, and some treats. You can buy dog ear cleaner from a pet store, a vet, or online, or you can make your own with a mixture of water and vinegar². You should avoid using alcohol, hydrogen peroxide, or human ear cleaners, as they can irritate your dog’s ears. You should also avoid using cotton swabs, as they can push dirt deeper into the ear canal or damage the eardrum. You should try to clean your dog’s ears when they are calm, as this will help make the process easier and more comfortable for both of you. You can also reward your dog with treats and praise throughout the process to make it a positive experience.
- Gently fill the ear canal with a cleaning solution
Hold one ear flap (pinna) up vertically to expose the ear canal. While holding your dog’s ear flap with one hand, hold the ear cleaner bottle in your other hand. Squeeze some ear cleaner into your dog’s ear canal, enough to fill it up but not overflow. You may hear a squishing sound as the cleaner enters the ear canal. This is normal and means that the cleaner is reaching the deeper parts of the ear. You should avoid touching the tip of the bottle to your dog’s ear, as this can introduce bacteria or dirt into the ear.
- Lightly massage the outside base of the ear to help break up the wax inside the ear canal
After filling the ear canal with cleaner, gently massage the base of the ear with your fingers for about 15 to 30 seconds. This will help loosen the wax and dirt inside the ear canal and allow the cleaner to dissolve them. You may hear more squishing sounds as the cleaner moves around the ear. This is also normal and means that the cleaner is working. Your dog may shake their head or try to scratch their ears during this step.
- Clean out excess moisture and wax gently with cotton balls or a cloth
After massaging the base of the ear, use a cotton ball or a soft cloth to gently wipe around the entrance of the ear canal. Also, gently wipe around the inner surface of the ear flap. This will remove any excess cleaner, moisture, wax, or dirt that came out of the ear canal. You should avoid inserting anything into the ear canal, as this can cause damage or push dirt deeper into the ear. You should also avoid rubbing or scratching the ear, as this can irritate the skin or cause inflammation. You should repeat this step until the cotton ball or cloth comes out clean.
- Repeat the process for the other ear. After cleaning one ear,
You should repeat the same steps for the other ear. You should use a new cotton ball or cloth for each ear to avoid cross-contamination. You should also use a new bottle of ear cleaner or a fresh batch of homemade cleaner for each ear to avoid introducing bacteria or dirt into the ear.
- Reward your dog and check their ears regularly
After cleaning both ears, you should reward your dog with treats and praise for being such an excellent sport. You should also check their ears regularly for signs of dirt, wax, or infection, and clean them as needed. You should also consult your vet if you notice any changes in your dog’s ears, such as redness, swelling, discharge, odor, pain, or itching. These could indicate a more serious problem that requires medical attention.
Conclusion
Cleaning your dog’s ears at home is a simple and effective way to keep them healthy and happy. By following these tips and tricks, you can prevent ear infections, improve your dog’s hearing, and strengthen your bond with your dog.